How to Download the Photoshop Beta and Preview Upcoming Features...
PhotoShop Beta:-
Explanation :-
Let's get started!
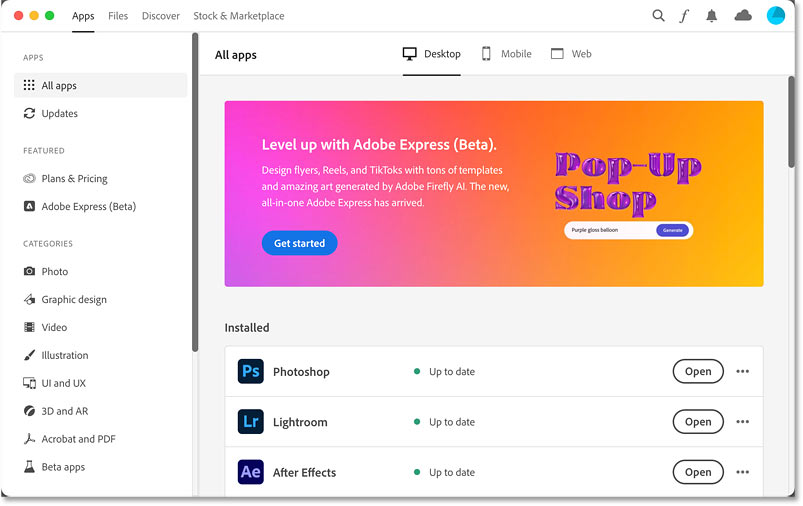
Step 1. Open the Creative Cloud desktop app
Open the Creative Cloud Desktop app (the same app you used to install the official Photoshop release).
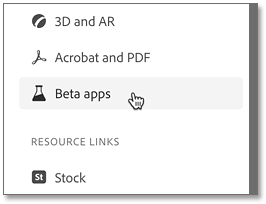
Step 2: Select Beta apps:-
In the left column, click Beta apps.
Step 3: Install the Photoshop beta:-
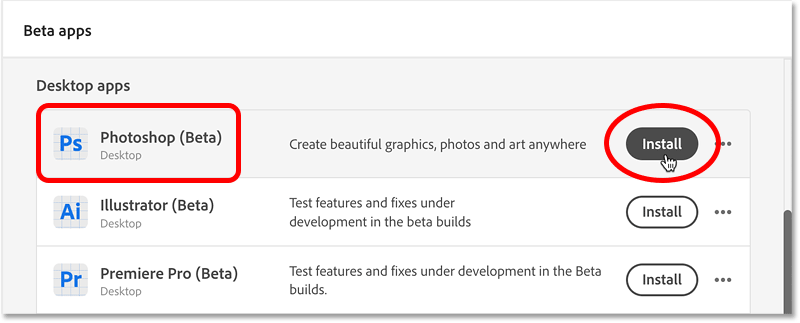
Look for the Photoshop (Beta) app and click the Install button.
Depending on your Creative Cloud subscription, you may see beta versions of other Adobe apps as well. But we’ll stick with Photoshop.
Step 4: Open the Photoshop beta:-
Once the Photoshop beta is downloaded and installed, you'll find it listed under Installed beta apps.
To open it, click the Open button.
Note that the Photoshop beta can only be opened from the Beta apps category. It will not appear in the All apps
category with the official version.

Got the Photoshop beta? Learn how to use Generative Fill with these tutorials:
Step 5: Confirm you are running the Photoshop beta:-
The Photoshop beta opens to the Home Screen.
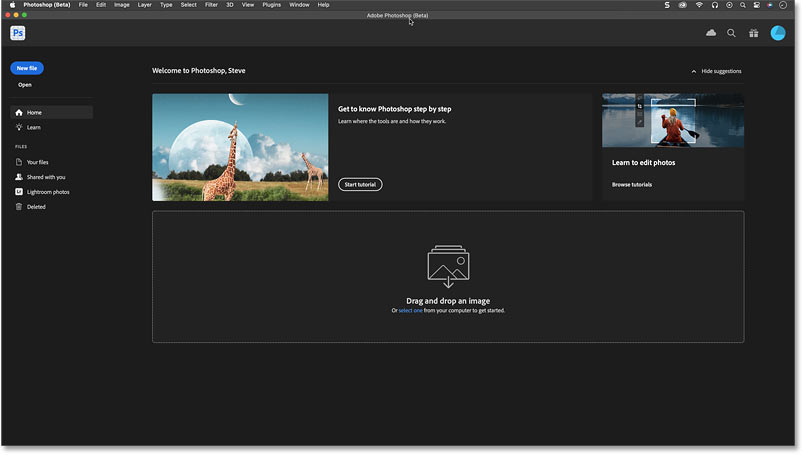
To confirm that you are running the beta version, on a Windows PC, open the Help menu in the Menu Bar and choose About Photoshop. On a Mac, you'll see Photoshop (Beta) in the Menu Bar (where it normally just says Photoshop). But if you want further confirmation, you can click on it and choose About Photoshop.
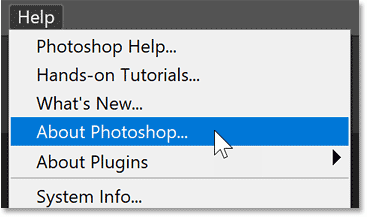
The About screen will display Adobe Photoshop (Beta). The version number shown here may be different when you download it. Click anywhere to close the screen.

The Beta Feedback button and dialog box
So now that you’ve installed and opened the Photoshop beta, how do you know which upcoming features are available to try out? And where do you find them? All the information you need is in the Beta Feedback dialog box.
Once you move from the Home Screen to Photoshop’s main interface (by creating a new document or opening an image), you’ll find a Beta Feedback button in the upper right (next to the Share button). The Beta Feedback button is another way to tell that you are running the beta version. Click the button to open the Beta Feedback dialog box.

The Beta overview screen
In the dialog box, the main Beta overview screen tells you how many beta features are currently available for review. At the time I’m writing this, there are two features (a Photo Restoration Neural Filter and Multi-Image Content-Aware Fill). You’ll also find links to report a bug, submit an idea, visit the Photoshop beta community, or get help. Clicking any of these links will open Adobe’s website in your browser.

Learning more about a beta feature
To learn more about a specific beta feature, including where to find it, click on its name under Review features in the column along the left.

Here you'll find details about what the feature does (or at least, what it's supposed to do) and how to use it.
Unfortunately, some of the information is incorrect at the time I'm writing this. For example, it’s telling me that the Photo Restoration Neural Filter is found under the File menu when it’s actually found under the Filter menu (Filter > Neural Filters > Photo Restoration). Hopefully this will be corrected in the near future.
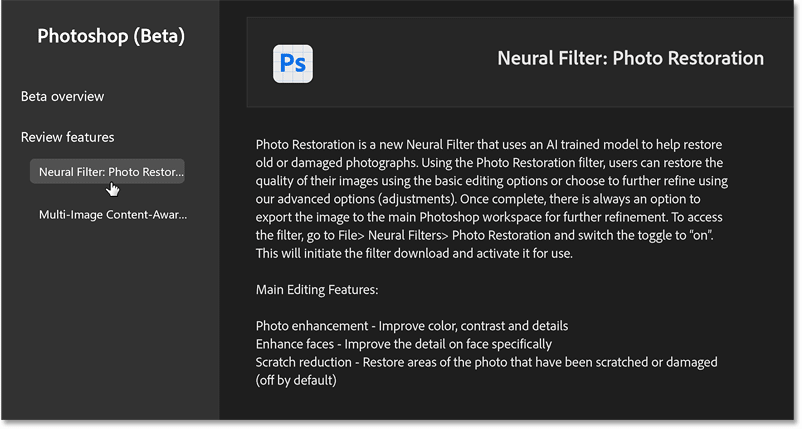
How to provide feedback on a beta feature
Once you’ve tried out a beta feature, be sure to let Adobe know what you think of it so far.
After trying the Photo Restoration Neural Filter (which I will cover in a separate tutorial), I think it’s very impressive but still needs work.
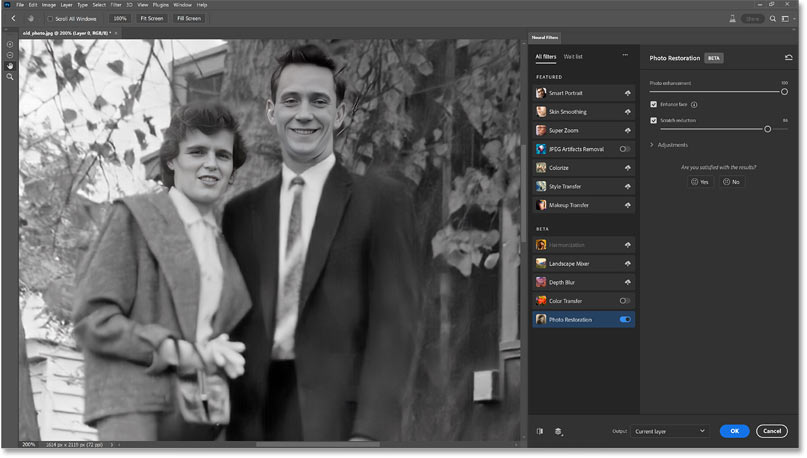
So in the panel along the right, under Are you satisfied with the results?
, I’ll click No.
A dialog box opens where you can provide Adobe with more details. Click the Submit button to send them, or click Skip to cancel.


